
What to Expect During a Residential Window Film Installation
If you are considering or have already decided to install residential window film, knowing what to expect during installation helps ensure a smooth process. From pre-arrival preparations to precision wet-application, curing timelines, and post-installation care, understanding each phase guarantees a seamless experience and optimal long-term film performance.
Step 1: Pre-Arrival Preparation and Site Protection
To help the installation run as smoothly as possible, you can complete a few simple tasks prior to arrival:
Clear Window Access: Move small tables, floor lamps, indoor plants, and delicate decor items away from the glass. Technicians generally need about three to four feet of clear workspace in front of each window to set up ladders, water collection trays, and cutting boards safely.
Secure Window Coverings: Draw back drapes, pull up blinds, or adjust shutters so the glass surface and interior window frame are fully exposed. For example, if you have custom plantation shutters, simply unlatch and swing the frames fully open to give installers clear access to the glass edge.
Keep Pets in a Safe Area: Secure pets in a separate room, garage, or comfortable backyard space where they won't wander into active work zones. This keeps your animals calm and prevents them from accidentally stepping on glass tools, tripping up technicians carrying large film sheets, or letting outdoor dust drift onto freshly cleaned glass.
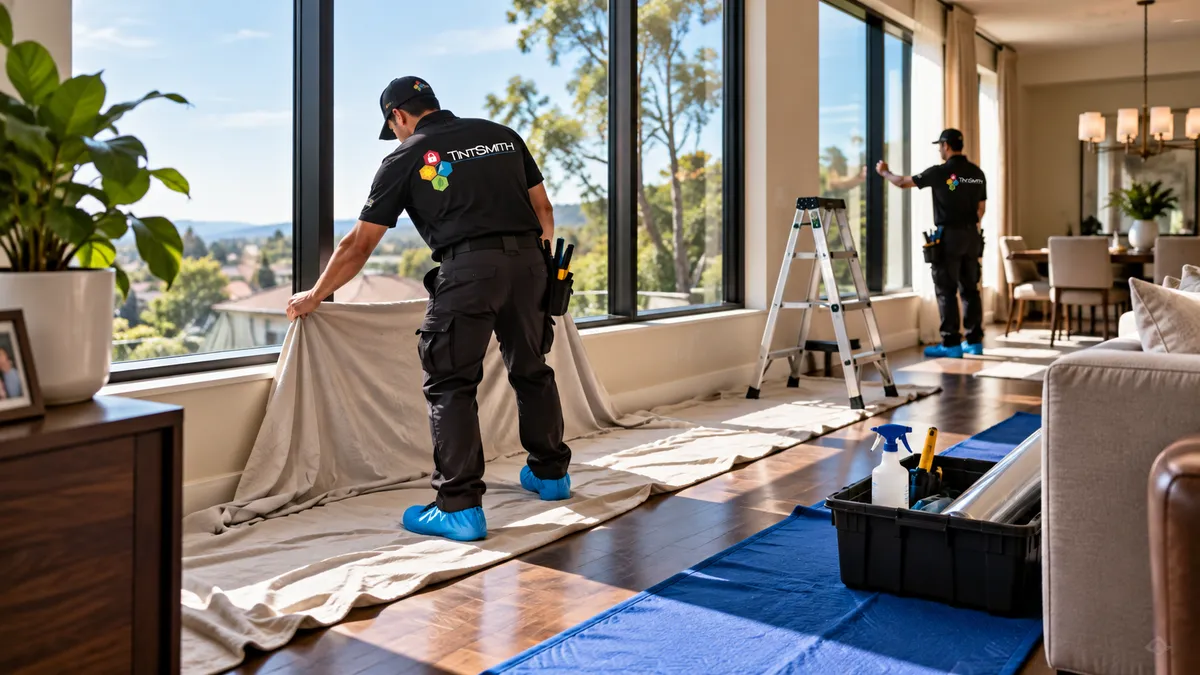
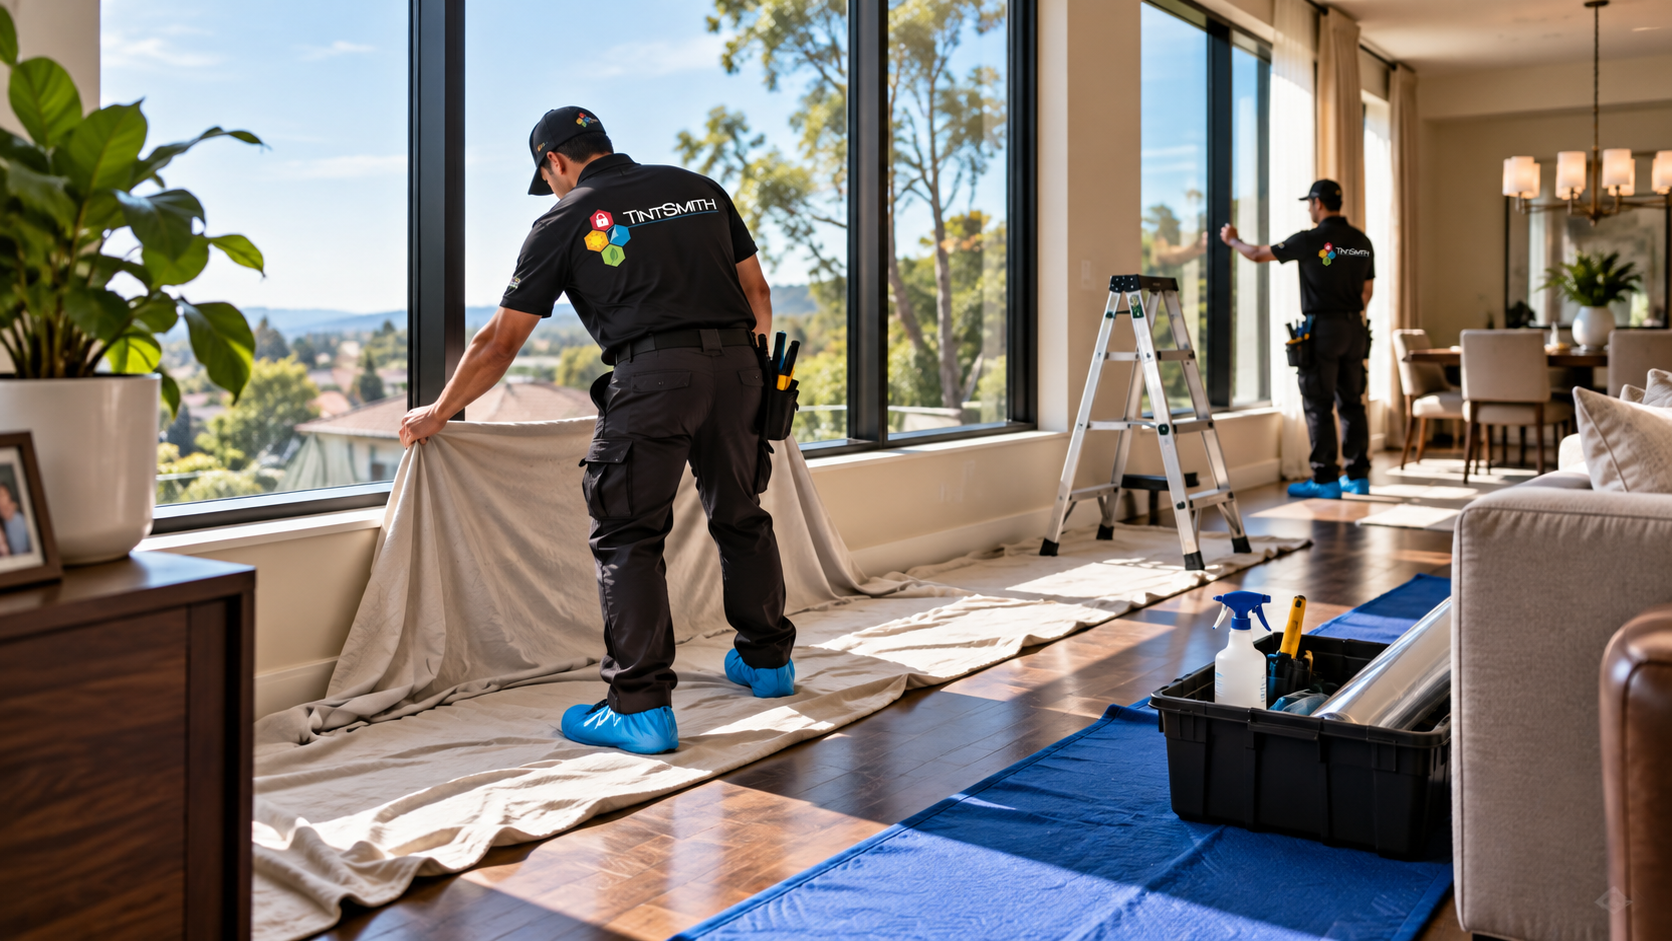
Once on-site, the installation crew takes over full site protection duty. Technicians put on protective shoe covers before crossing your threshold and lay clean drop cloths or heavy-duty absorbent runners beneath every window pane being treated. This ensures any moisture or runoff is safely caught by protective gear.
Understanding HVAC and Temperature Preparation: Maintaining stable interior ambient temperatures prior to technician arrival plays a vital role in proper mounting solution evaporation and film placement. It’s advisable to set your central HVAC unit between 68°F and 72°F on installation day to minimize drafty air currents that can lift environmental dust off interior surfaces and push airborne micro-particles onto wet window glass during the application process.
Step 2: On-Site Precision Application and Custom Fitting
On-site window film application involves thorough glass cleaning, precise wet-film positioning, micro-edge trimming, and squeegee fluid extraction. Experienced technicians ensure complete adhesion and border alignment while keeping surrounding window frames, casings, and sills clean and protected.
The installation team follows a disciplined, step-by-step sequence to ensure long-lasting film performance:
Diagnostic Glass Inspection: Technicians examine each pane for pre-existing scratches, minor glass flaws, or seal failures to ensure the window is ready for application. For example, if a double-pane window has a blown seal that causes internal fogging between the panes, installers bring it to your attention before applying film so you don't confuse old glass seal damage with the new installation.
Deep Mechanical Cleaning: Installers clean the glass using specialized razors and non-toxic slip solutions to remove invisible dust particles, paint specks, and stubborn dirt buildup. Even brand-new windows often have microscopic construction debris or sap stuck to the exterior surface, which must be scraped completely flat so no small bumps appear under the finished film.
Precision Spraying and Positioning: A mild mounting solution is applied to the glass, allowing installers to slide the custom-cut film into exact alignment along the window edges. This wet application layer acts as a temporary lubricant, giving technicians time to center the film perfectly on large arch windows or multi-pane French doors without creasing the material.
Micro-Edge Trimming: Technicians hand-trim the film along the inner frame using ultra-sharp stainless steel blades, leaving a tiny, precise margin that prevents peeling without compromising coverage. For example, around wood-trimmed window casings or aluminum frames, installers leave a gap less than one-sixteenth of an inch—virtually invisible to the naked eye—to allow trapped water to escape during the squeegee process.
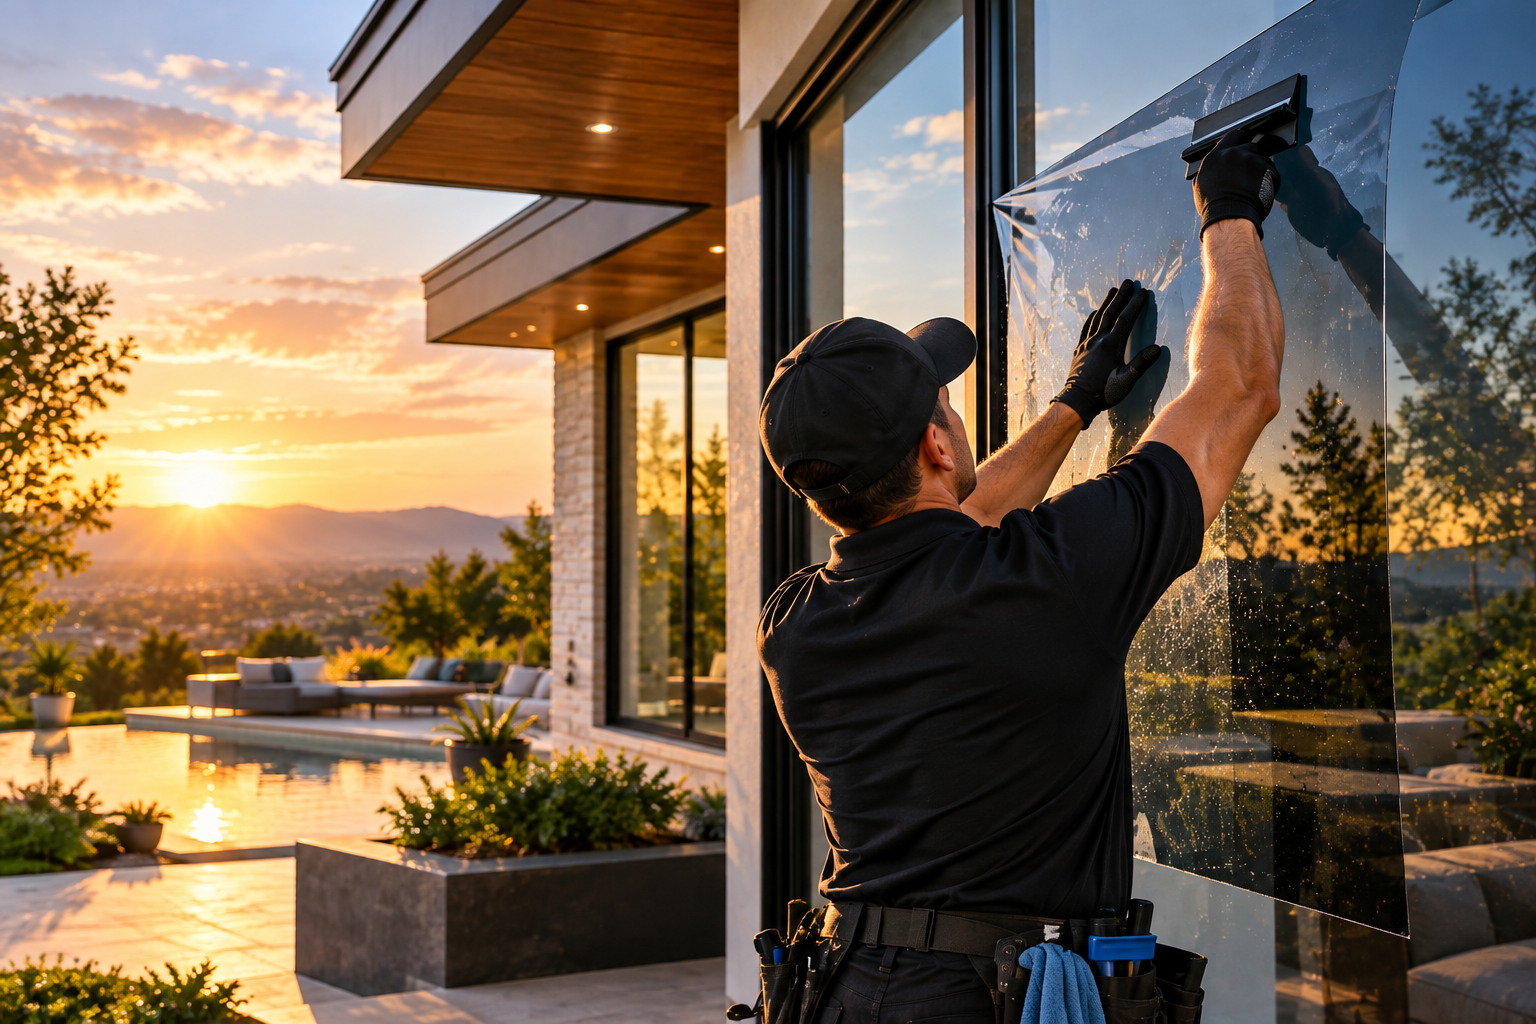
Dual-Pass Squeegee Extraction: Installers use specialized squeegees to press out the mounting solution trapped beneath the film, locking it firmly against the glass. The first pass removes the majority of the fluid, while a firmer second pass locks the pressure-sensitive adhesive into place, eliminating remaining pockets and securing the film against the frame corners.
This meticulous approach prevents dust from getting trapped beneath the film and guarantees clean edges around every frame. Because all cutting and fitting happen directly against the glass with specialized tools, your window frames and surrounding trim remain completely untouched and protected.
Advanced Film Types and Custom Glass Considerations
Selecting the appropriate residential window film standard requires evaluating your property's specific architectural features, glass composition, and primary thermal challenges. Professional installers assess whether your home features dual-pane low-E glass, single-pane annealed glass, or tempered safety glass to recommend a compatible film configuration that prevents thermal stress fractures while maximizing energy savings and solar heat rejection.
Ceramic and Nano-Ceramic Films: Advanced non-metallic ceramic films reject up to 99% of harmful UV rays and substantial solar heat without interfering with internal Wi-Fi routers, cellular signals, or smart home devices, maintaining crystal-clear interior views without reflective sheen.
Dual-Reflective Films: Engineered specifically for high-sunlight suburban elevations, dual-reflective films feature a reflective exterior coating for intense exterior heat rejection combined with a neutral interior finish that preserves night-time glass transparency and prevents internal mirror effects.
Safety and Security Films: Heavy-gauge security films hold shattered glass fragments together during severe weather events, accidental impacts, or forced entry attempts, reinforcing vulnerable entry points and protecting household members from hazardous flying shards.
Step 3: Understanding the Curing Process and Temporary Visual Changes
Understanding the curing process helps set clear expectations for post-installation appearance and performance timelines.
Homeowners can expect a few completely normal visual shifts during the first few weeks after installation:
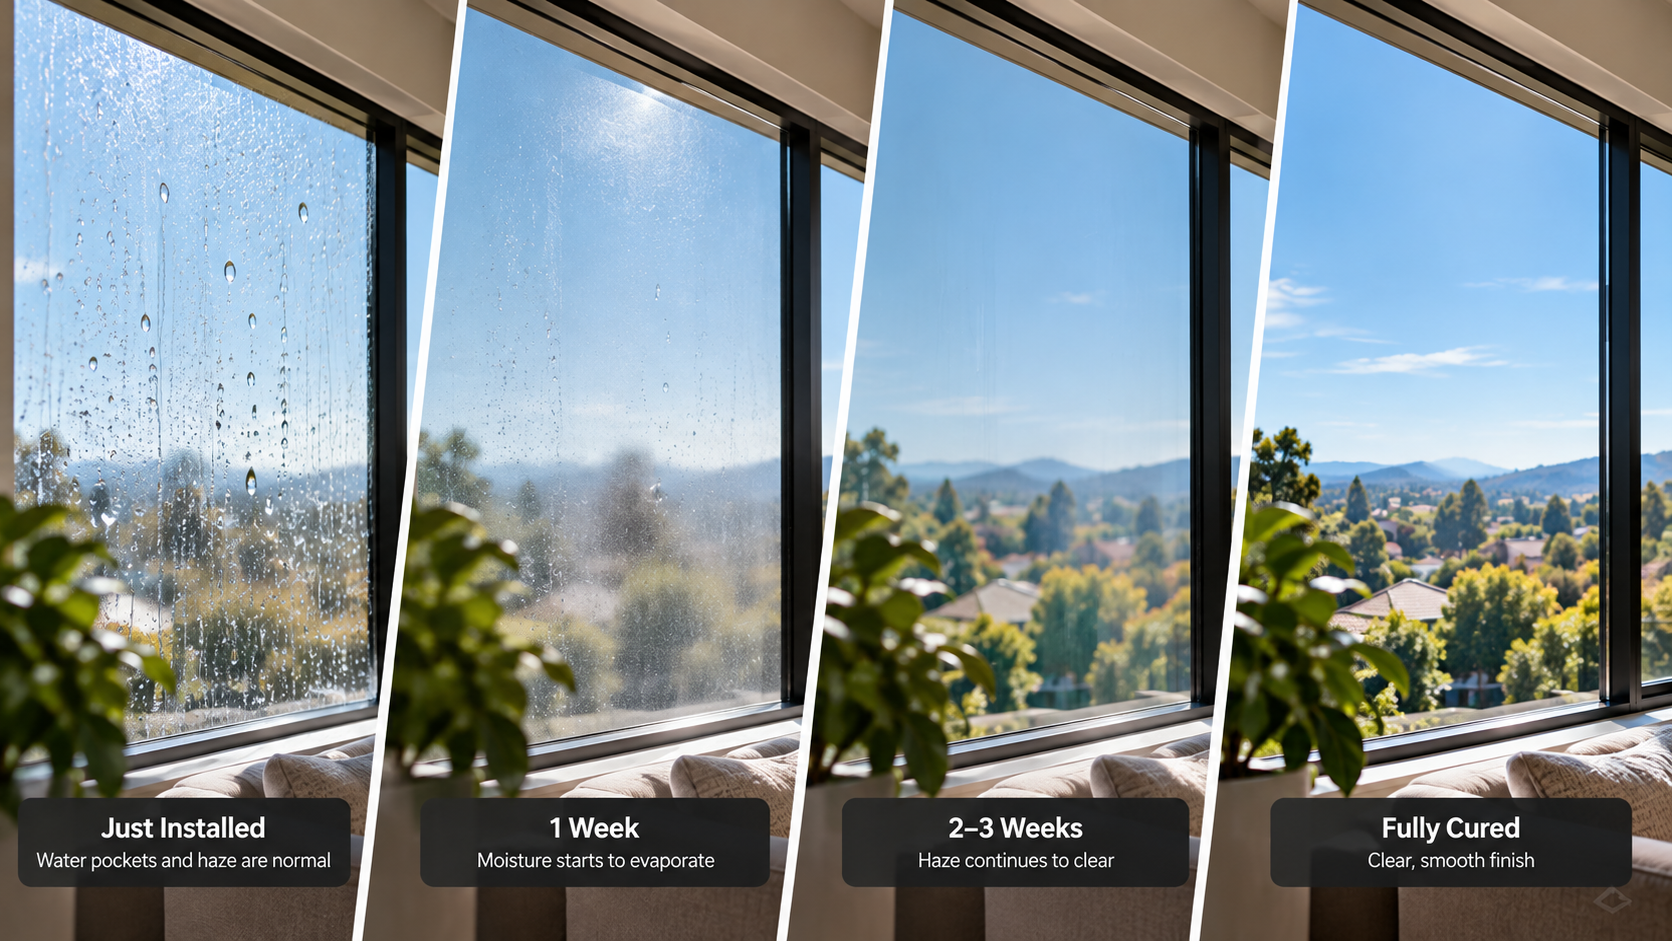
Temporary Water Pockets and Haze: Small, localized water pockets or a light, hazy appearance may develop under the film shortly after application. For example, you might notice small, cloudy smudges or tiny water bubbles in high-sunlight rooms within the first 48 hours, which is simply trapped moisture rising to the surface to evaporate naturally through the breathable film layer.
Climate-Dependent Timelines: Full curing generally takes anywhere from two to six weeks depending on environmental factors. For instance, windows receiving direct southern exposure in the summer may dry clear in just 10 to 14 days, while shaded or North-facing windows during cooler, humid months naturally take longer to clear completely.
Unaltered Home Views: High-quality residential solar control film protects your interior without giving your home a dark, reflective, or commercial appearance. High-grade dual-reflective and ceramic films selectively filter intense heat and damaging UV rays, leaving your windows with a clean, clear view that preserves natural indoor lighting.
Rest assured that these minor imperfections are only temporary markers of a curing film. As the moisture disappears completely, the film draws perfectly flat against the glass, leaving behind a smooth, durable finish that protects your home’s interior.
Step 4: Quality Inspection, Care Guidelines, and Long-Term Maintenance
Following standard inspection criteria and proper long-term care ensures your installation retains its optimal clarity and appearance over time.
Homeowners can evaluate their new window film using standard industry inspection guidelines:
Inspect from a Natural Distance: Stand about five feet away from the glass in normal daylight rather than standing inches away with a flashlight. From this viewing distance, the film should look uniform, flat, and virtually invisible.
Observe the Border Alignment: Check the perimeter edges around the frame to ensure clean, straight cuts without any lifting, fraying, or large gaps along the window seal.
Allow Proper Curing Time Before Cleaning: Refrain from cleaning or wiping down the windows for at least 30 days post-installation to give the mounting adhesive ample time to bond fully with the glass.
Once the film has fully cured, long-term maintenance is remarkably simple. Clean your windows using soft microfiber cloths or rubber squeegees paired with standard, non-abrasive glass cleaners. Avoid using ammonia-based products or abrasive scrubbing pads, as harsh chemicals and sharp tools can degrade the protective hard coat over time.
Manufacturer Warranty Coverage and Protection Standards
Partnering with an authorized dealer guarantees access to comprehensive manufacturer warranties that safeguard your residential investment against material defects, film peeling, bubbling, cracking, and premature discoloration.
Premium residential window films installed by certified technicians carry extensive limited lifetime warranties, providing homeowners complete peace of mind that their thermal rejection and interior UV protection performance will remain steadfast across decades of exposure to harsh sun and seasonal weather shifts.
Frequently Asked Questions About Residential Window Film Installation
How long does a typical residential window film installation take?
Most residential installations take anywhere from three to six hours depending on the number of windows, glass size, and home accessibility. Technicians provide a specific timeline during your initial consultation so you can plan your day with minimal disruption.
Will installer tools or water damage my interior wood trim or flooring?
No, professional installers take extensive precautions to safeguard your home throughout the application process. Technicians use clean drop cloths, absorbent towels along window sills, and light moisture sprays designed to catch any runoff before it reaches your flooring or interior wood trim.
Can window film cause glass breakage or thermal seal failure in double-pane windows?
When properly matched to the underlying glass type by experienced professionals, window film will not cause thermal shock or seal failure. Technicians conduct pre-application glass stress calculations to match specific glass compositions (such as low-E, dual-pane, or annealed glass) with film products engineered within safe solar absorption parameters, ensuring full warranty protection for both the glass units and the applied film.
The Bottom Line
A professional residential window film installation transforms your home’s comfort, energy efficiency, and interior protection without altering its architectural beauty. By understanding the preparation, application steps, curing timeline, and proper care guidelines, you can navigate the entire process with complete confidence.
Beyond immediate heat relief, high-performance solar control films serve as a long-term investment in your property's preservation. By continuously blocking destructive UV rays, you eliminate the underlying cause of faded hardwood flooring, costly artwork degradation, and discolored upholstery without resorting to drawn blinds or darkened rooms.
Working with a dedicated local team guarantees ongoing support and accountability long after the installation crew leaves your driveway. When your installation is backed by industry-leading warranties and proven craftsmanship, you enjoy a brighter, more energy-efficient home with absolute certainty in your decision.
Protect Your Home’s Interiors with a Professional Installation
If you are ready to eliminate hot spots and safeguard your home's interior with zero compromise on appearance, schedule a personalized home consultation with the team at TintSmith Window Tinting. We walk you through every high-performance option and deliver a clean, white-glove installation tailored to your space. Request a Quote.